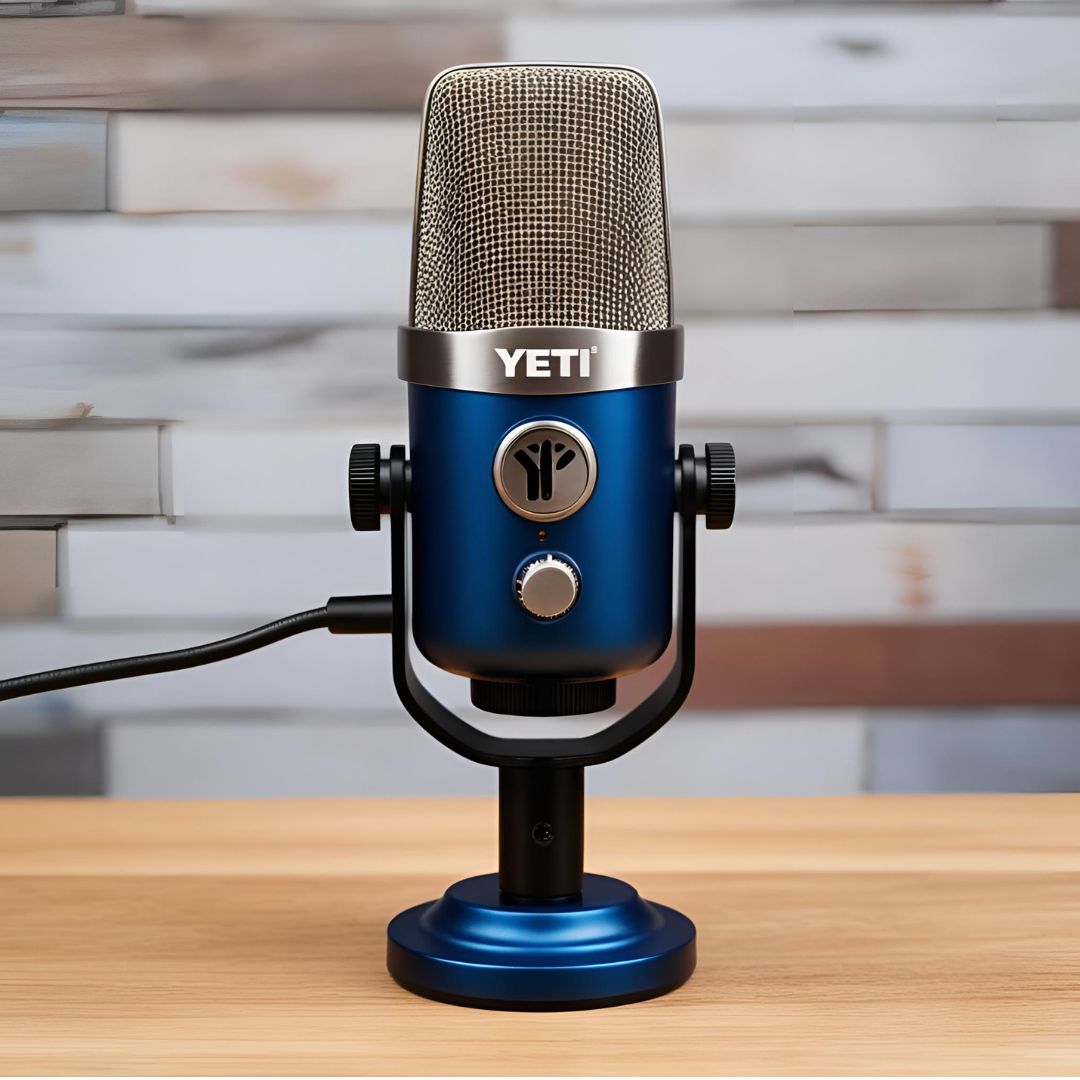
Getting crystal-clear sound from your Blue Yeti isn’t magic; it’s all about dialing in the right settings. Whether you’re a podcaster, streamer, or musician, understanding how to tweak your Blue Yeti microphone settings can transform your recordings from muddy to professional-grade.
With more than a decade spent optimizing USB mics, I’ve seen how small tweaks make a world of difference. Below, you’ll find a detailed, step-by-step guide to shape your tone, slash background noise, and maximize your dynamic range. No studio required.
Why Proper Settings Matter
Every room has its personality. Hard surfaces reflect sound like mirrors; soft furnishings absorb certain frequencies. Echoes bounce off bare walls; background hums slip through gaps. If you rely solely on post-production, you’ll waste hours tweaking equalizers.
By mastering your Yeti mic settings from the start, you minimize hiss and clipping. You’ll craft a cleaner canvas, one where your voice stands out naturally. This approach preserves authenticity. It also grants more headroom for plugins or live mixing. Less editing. More focus on content.
Getting Started: Hardware Essentials
First, secure your Blue Yeti on a reliable stand or boom arm. A basic shock mount tames handling noise. Then connect it directly to a USB port, steer clear of unpowered hubs to prevent dropouts.
Use a high-quality shielded cable if possible. Next, open your operating system’s sound settings and choose the Yeti as both input and output (if needed). Finally, turn the microphone’s gain knob all the way down. Keep the software sample rate at 48 kHz and the bit depth at 24-bit for optimal fidelity. We’ll build up from zero.
Picking the Right Blue Yeti Patterns
The four polar patterns on a Blue Yeti determine how sound is captured:
- Cardioid: Captures sound in front of the mic, rejects everything else. Perfect for solo vocals, streaming, or voiceovers.
- Omnidirectional: Records equally in all directions. Use this for group chats or capturing ambient instruments.
- Bidirectional: Records from the front and back while rejecting sides. Ideal for one-on-one interviews or duet vocals.
- Stereo: Uses left and right channels to create a wider soundstage. Great for acoustic instruments, ASMR, or immersive recordings.
Switch to the cardioid icon for most voice work. It’s your reliable default. Rotate the dial if you need a more natural room tone or a conversational interview vibe.
Optimizing Blue Yeti Microphone Settings in Hardware
Once you’ve selected your polar pattern:
- Gain Control: Speak at your normal volume. Slowly raise the gain until the indicator briefly hits yellow on peaks, never steady red. This balances sensitivity with clarity.
- Monitor Headphone Volume: Plug headphones into the Yeti’s 3.5 mm jack. Adjust the headphone dial until playback sounds natural, without echo or lag. Real-time monitoring helps you catch breath noises.
- Mic Placement: Position the capsule 4–6 inches from your mouth. Angle it slightly off-axis to reduce plosives. Use a foam windscreen or pop filter for crisp consonants.
Ever wondered how to adjust the volume on the Blue Yeti microphone? That headphone dial is your on-the-fly tool. Twist clockwise for more presence, counterclockwise to tame harsh peaks.
Fine-Tuning Software EQ: Best Blue Yeti Settings Using G Hub
Though the Blue Yeti isn’t a Logitech product, you can route its audio through Logitech G Hub to access advanced processing:
- Open Logitech G Hub.
- Create a dedicated Yeti profile.
- In the EQ section, boost 100–250 Hz for warmth; cut slightly around 300–500 Hz to reduce boxiness. Then, add a gentle lift at 4–8 kHz for presence.
- Enable a noise gate with a threshold just above your room’s noise floor. This silences idle hums.
- Engage a mild compressor (threshold ~–18 dB, ratio 2:1) to smooth out volume swings without sounding squashed.
You can also add a de-esser to tame sibilance. Save this profile. Instantly dial in a studio-like tone whenever you record or stream.
Conclusion
Achieving clear audio with your Blue Yeti hinges on intentional setup. Start by choosing the appropriate polar pattern: cardioid for solo voice, omnidirectional or stereo for group and ambient recordings. Mount the mic securely, connect via a dedicated USB port, and set the gain to highlight your voice without clipping.
Monitor in real time through headphones, adjusting volume on the Yeti’s dial. In software, sculpt lows, mids, and highs using EQ, engage a noise gate, and apply gentle compression.
Finally, revisit settings periodically as room conditions evolve. By mastering these Blue Yeti microphone settings, you’ll capture cleaner recordings straight out of the gate, freeing you to focus on creating engaging content.
